This site contains affiliate links, view the disclosure for more information.
Are you looking for website builders for your intriguing ideas but have low funds to hire one?
Check out these web design templates for WordPress, do they look enticing enough?
What if I tell you that the theme of these web designs has been AI-generated in less than 15 minutes, will you believe that?
Recently, Themeisle open-sourced its AI Website Builder tool QuickWP for public use. This is a rewarding opportunity for especially the early enthusiasts and young entrepreneurs to get their ideas online with a strong presence absolutely free of cost.
Normally, when you find and apply the selected theme to your WordPress site and visit the page, you get to experience an unexpected heartbreak because it never looks anywhere near the images shown in the documentation.
For instance, I found an interesting-looking Real Estate theme for WordPress named “Bosa Real Estate”. After installing and activating the theme on my WordPress it looked something completely different.
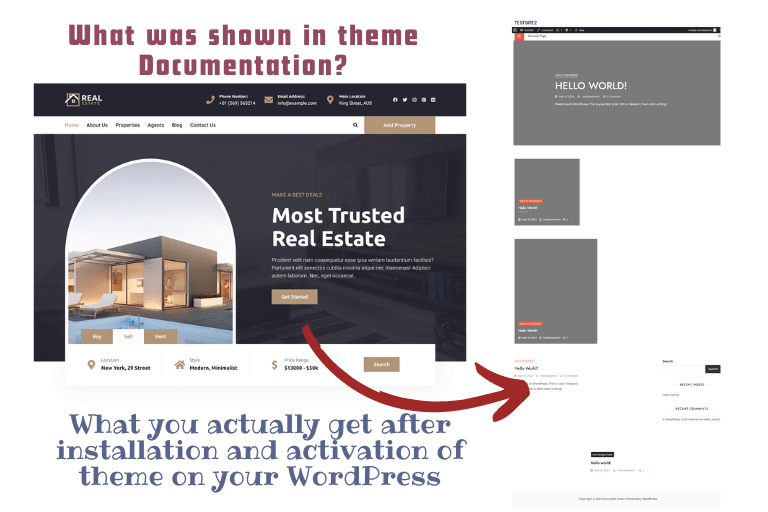
Consequently, your imagination crumbles down as the newly installed WordPress theme requires a lot more changes to be made for it to look exactly like the design shown in the documentation provided by theme builders. Why does this happen? You might wonder!
This usually happens when you install a theme on a brand new website and the website has no content as such to display. So most of the content area appears blank and a beginner-level user might think that the theme is broken or maybe they have been deceived into something hypothetical.
I know because it happened to me! and it was probably one of the biggest reasons that had me procrastinating in starting my blog a few years back.
Today, with QuickWP from Themeisle, the theme generated by AI when uploaded into your WordPress admin panel will appear exactly as the AI tool documents and portrays your site in the “View Site” tab. Refer to the video of uploading files in WordPress below.
This happens because the AI website builder tool QuickWP adds dummy text and images and creates a ready-to-use theme template for your website.
Amazing right? In a simple 6-step process, you get your webpage outline designed and almost ready to go online regardless of your niche.
Let’s go through the exact 6 prompts the AI asks you to generate your website with AI Website Builder – QuickWP. Once you provide the answers and necessary details, you’ll instantly get a zip file of your generated website, ready to be uploaded to your WordPress panel.
Follow me along if you want yours in less than 15 minutes!
Recommended: To speed up the process to last only 5 minutes or less, consider having these details about your store/business/blog/website already at hand.
- Selected Niche (for example real estate, jewelry for girls, health and fitness, etc.) – I’ll go with a Real Estate niche case for the sake of this blog tutorial.
- Brand Name
- Brand Description
- Basic Color Schemes or color palette you want to use in your web design
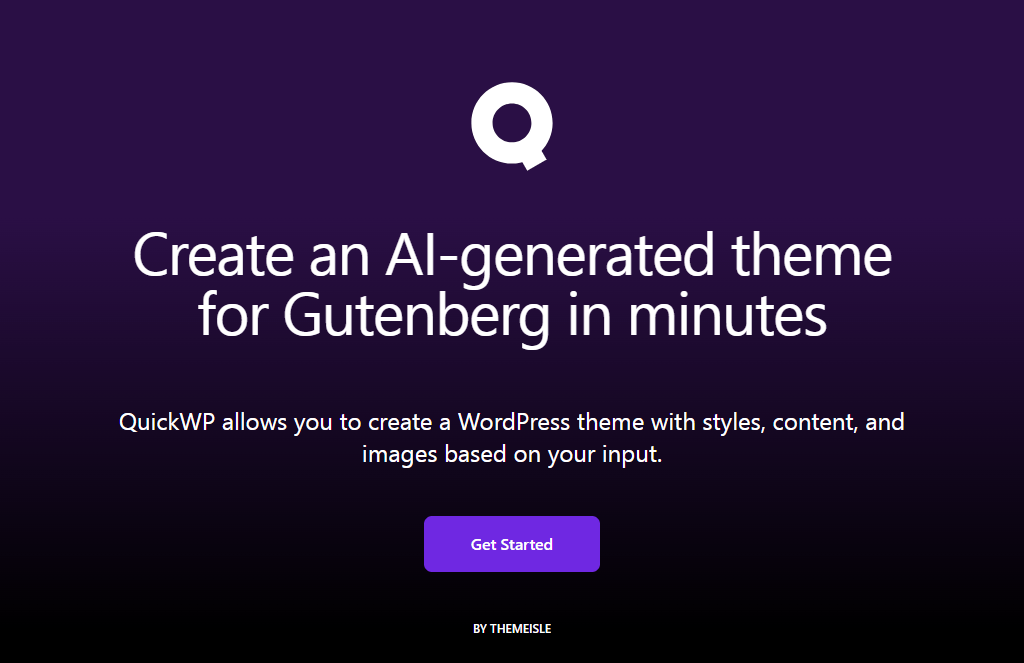
Once you have these details ready, head onto the QuickWP website. This is the interface you’ll encounter:
Be warned that pressing the back browser button (during any part of the process) will reset the process and you’ll be redirected to the first step of the process and will have to re-start the process entirely.
Click on Get Started Button and you’ll be required to Sign In.
The option to proceed without signing in is also available.
Once you are done, you’ll be taken to the first step of the process.
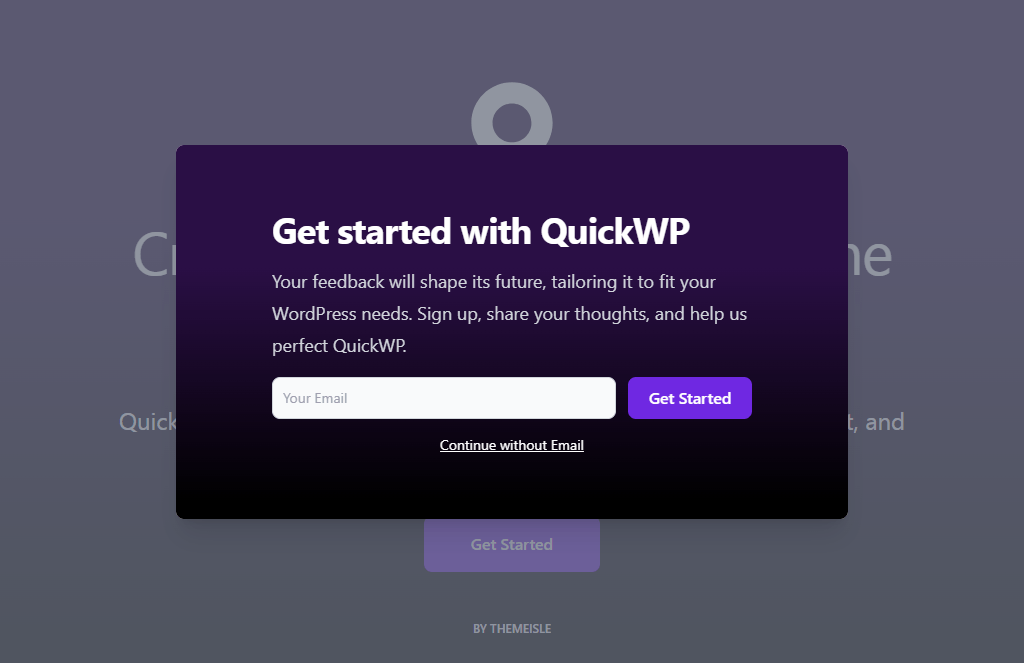
Table of Contents
ToggleHow to Build your Site with AI Website Builder tool QuickWP
Step# 1 - The basic details
So in the first step, the very first prompt that’d come before you would be: “What kind of site are you Building?”
Jot down your selected niche here.
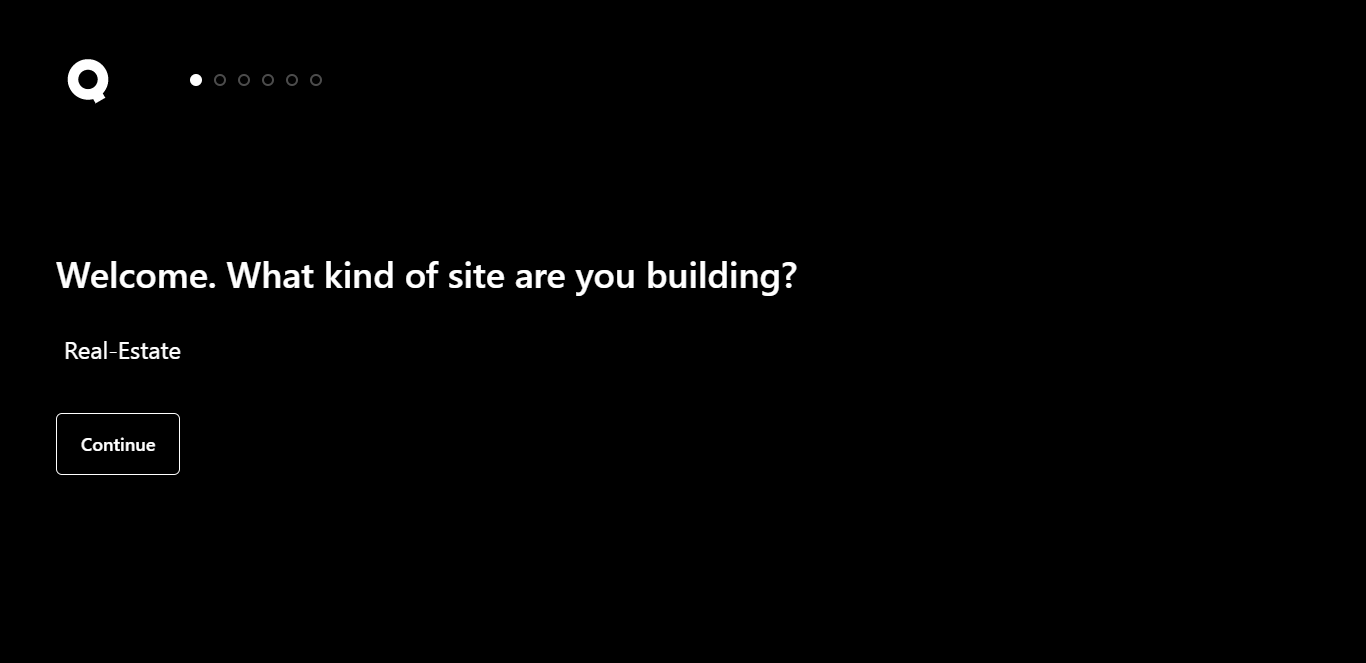
For my selected Real Estate niche; I typed: Real Estate. Then hit Continue to proceed to the next step
Step# 2 - Adding in Brand Specifics
In the second step, you’ll be required to provide a name for your brand, and a short intro description to specify your brand specifics particularly so that the AI website builder tool can provide you with a tailor-made website that’s suitable to your contemplated brand.

Step# 3 - Select Images
Now, depending upon your input to the first two prompts, the AI website builder tool will first identify the main keywords relative to the niche information you entered and than use those keywords to bring forth some images pertaining to those keywords from free online image repository.
In my case for instance, for the Real Estate niche case and with a “” short description the AI website builder tool identified three keywords namely: ” , and “. So the images put forth for selection in this step were those pertaining to these keywords only.
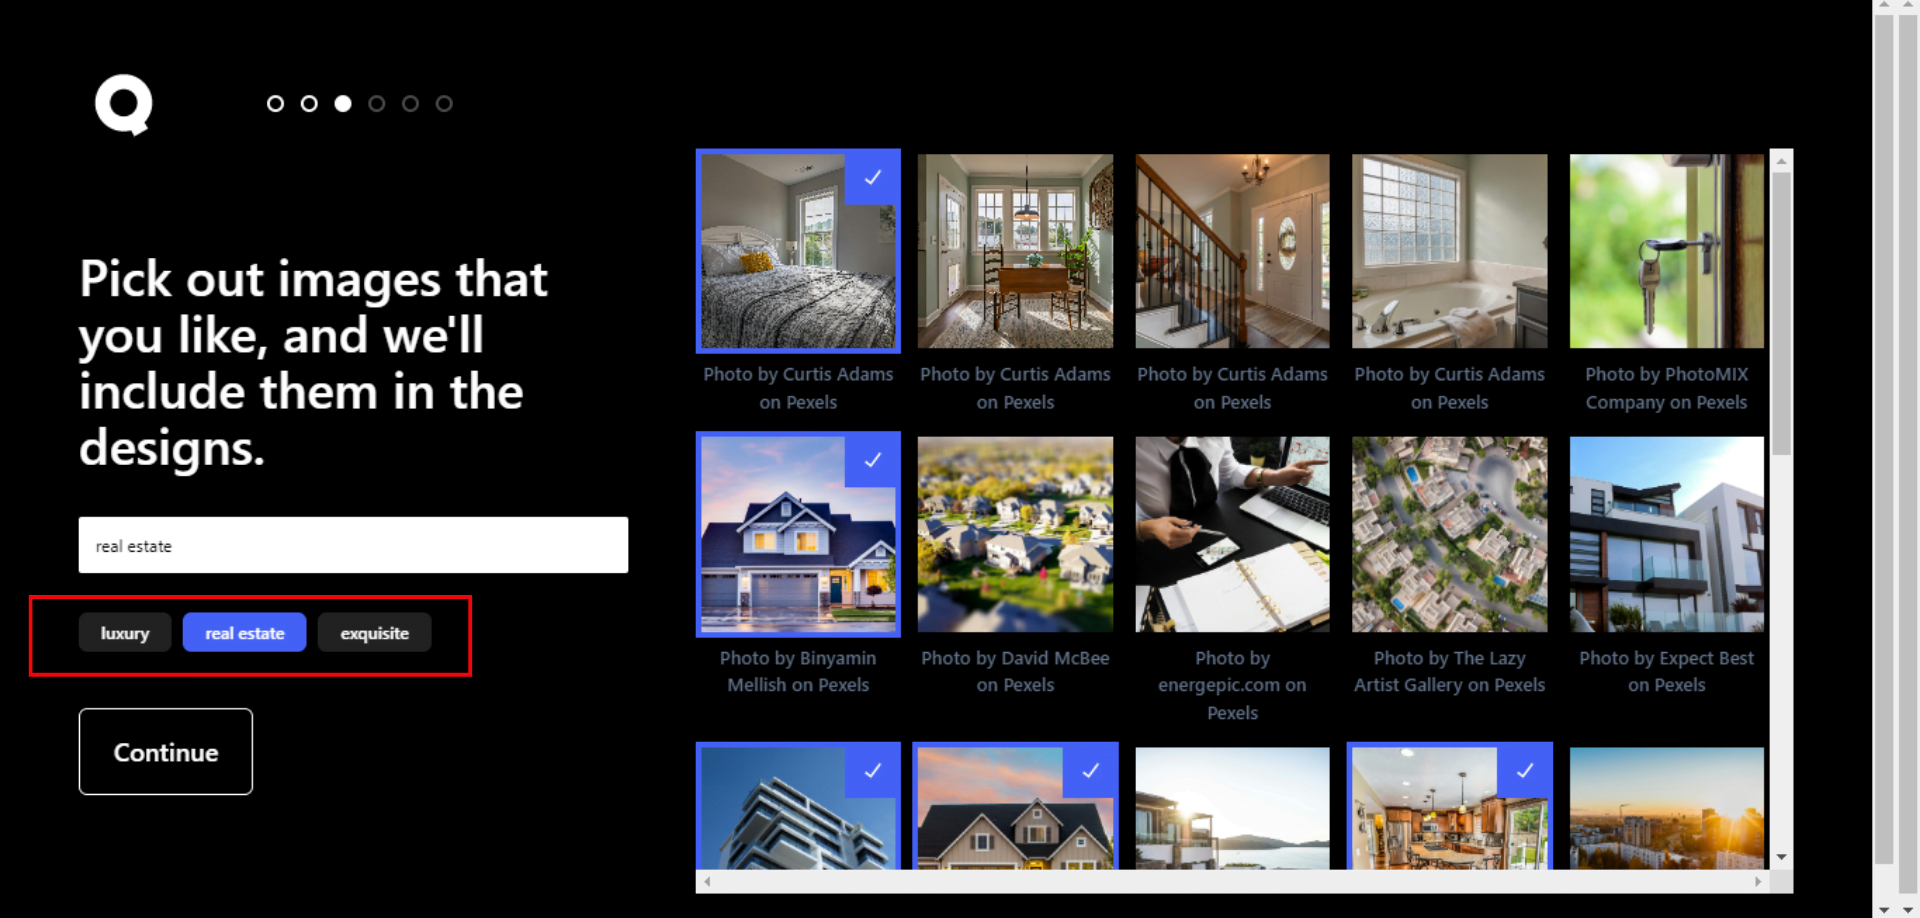
I tried selecting up to 15 images but the tool did not warned me of any minimum or maximum selection values, so I just reduced the number of selection to 5 and hit next.
You can try selecting 15 and hitting Continue. Let me know how did that turned out for your AI built website.
Step# 4 - Selecting the main Layout of your Webpage
In the fourth step, you’ll be deciding the layout of how you main webpage should look like. Don’t worry though you don’t have to build or visualize one out of the blue, the AI website builder tool will put forth up to 4 different layouts all built on the same NEVE FSE Theme from Themeisle.
That’s right, the AI tool does makes use of the NEVE FSE Theme as a main building theme for your website.
What’s interesting about this is that the layouts you’ll choose from will be visualized with all the real details (brand name, description and images) you provided in the first three steps of the process.
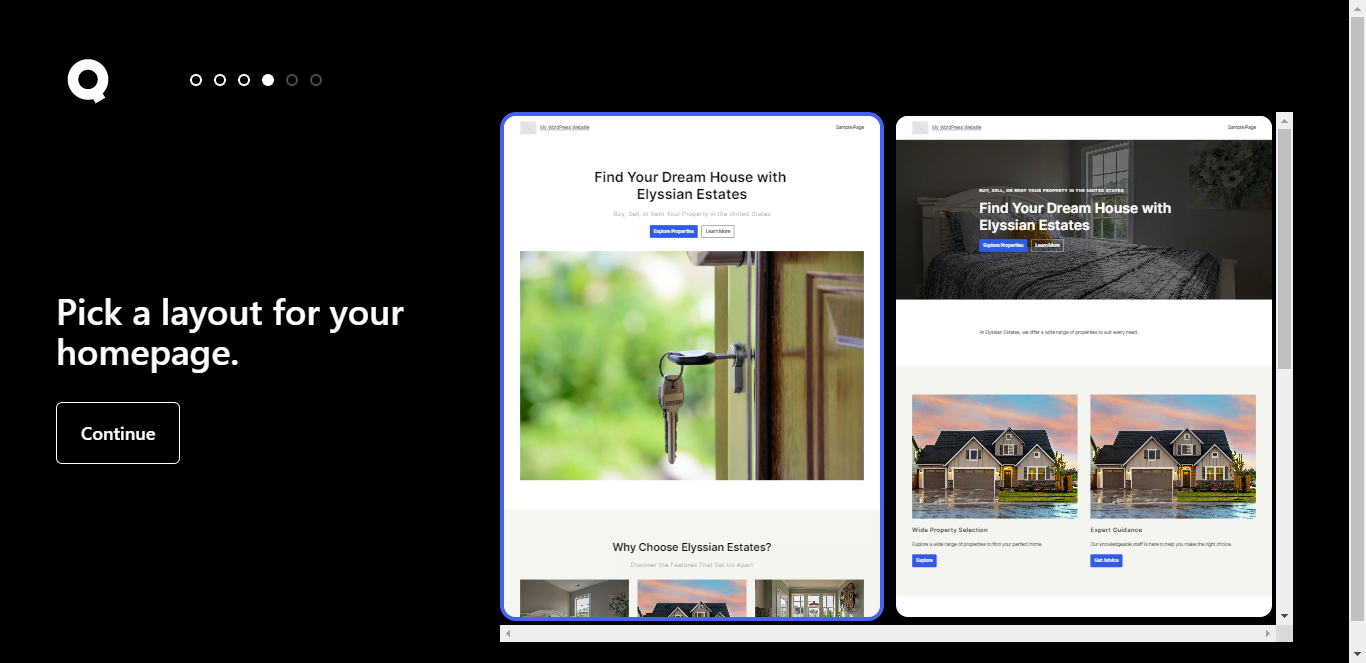
Select the layout that you feel resonates best with your brand image, and hit Continue.
Step# 5 - Selecting the Color Scheme
After selecting your home page’s layout, the next step will require you to set colors for your site theme. If you don’t have any color scheme in mind, you can use the refresh arrow on the right of color swatches to auto generate color combos and select the one that appears right for your niche specific site.
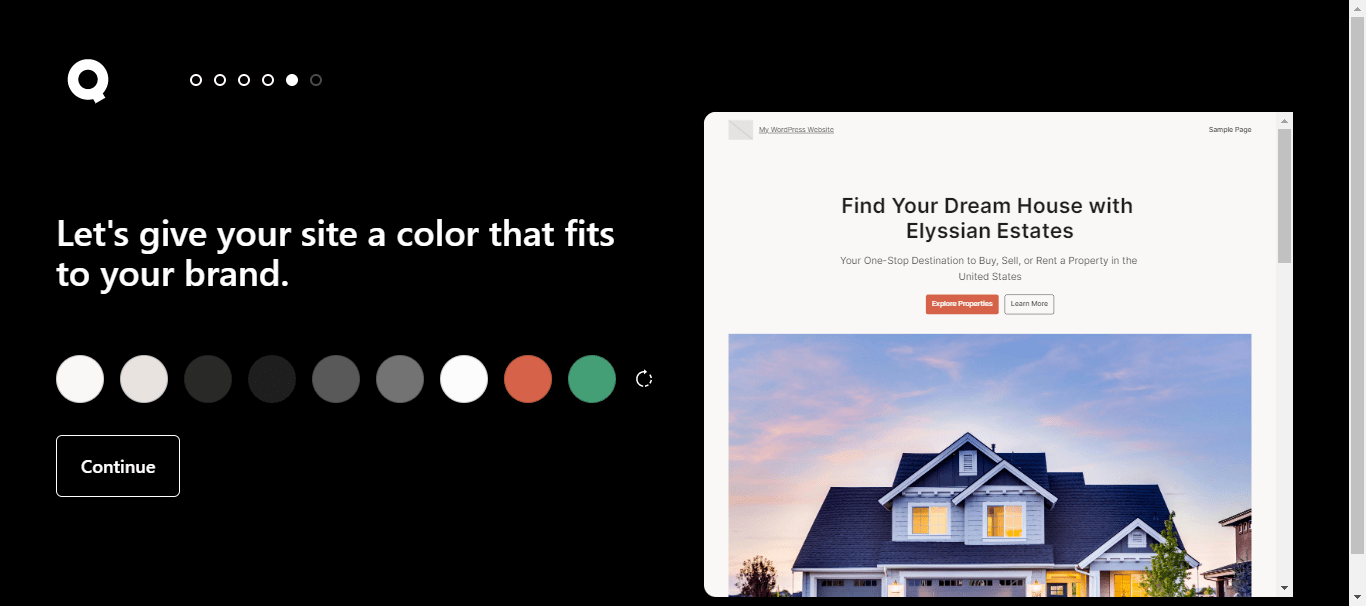
Alternatively, you can individually add in your color choice to each one of the 9 color swatches. You can play around a bit with this and find out what each one of the color swatch applies color to.
For instance, while playing around with this, I found that the first color swatch applies color to your main page of the website whereas 8th button (from left to right) applies color to the filled color buttons.
Or, if you want to skip this for now, you can do it. It’d be totally fine because you can always edit this later in the theme file editor or with block editor tools like Otter Blocks.
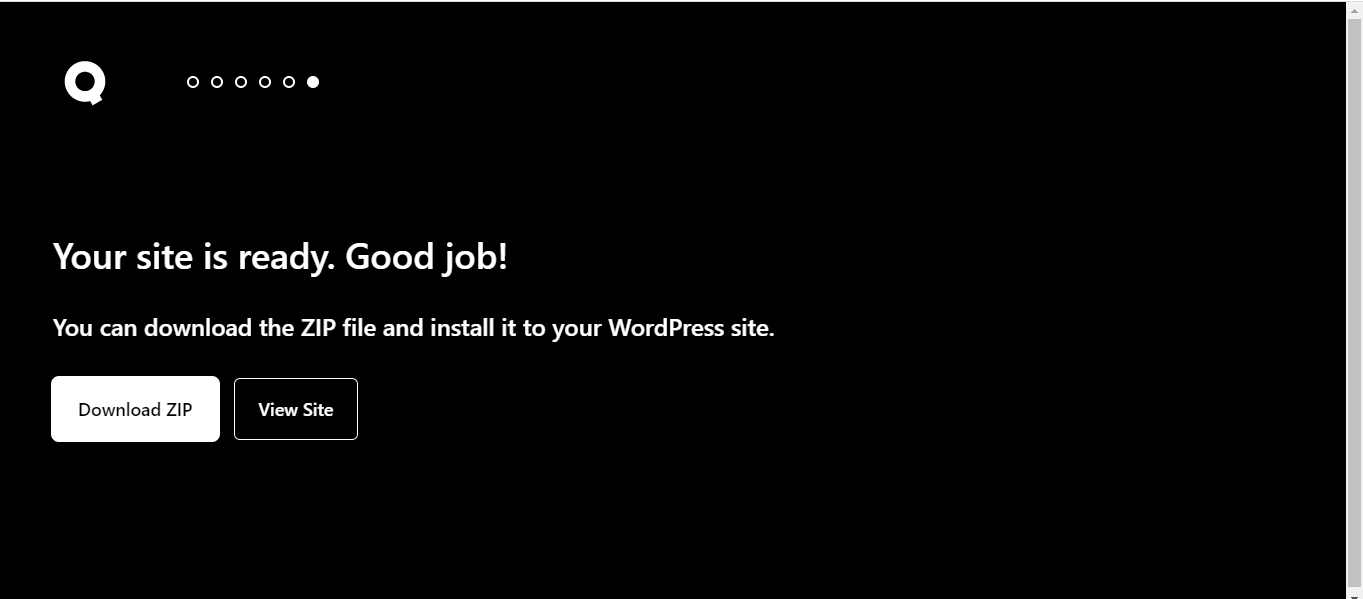
Step# 6 - Viewing the AI Built Site and Downloading the Zip File
In the next step, your site files would be ready to download. Before downloading, you can also take a tour of your AI built site by clicking on the “View Site” button which is recommended.
Or if you want, you can directly download the Zip file to be uploaded to your WordPress.
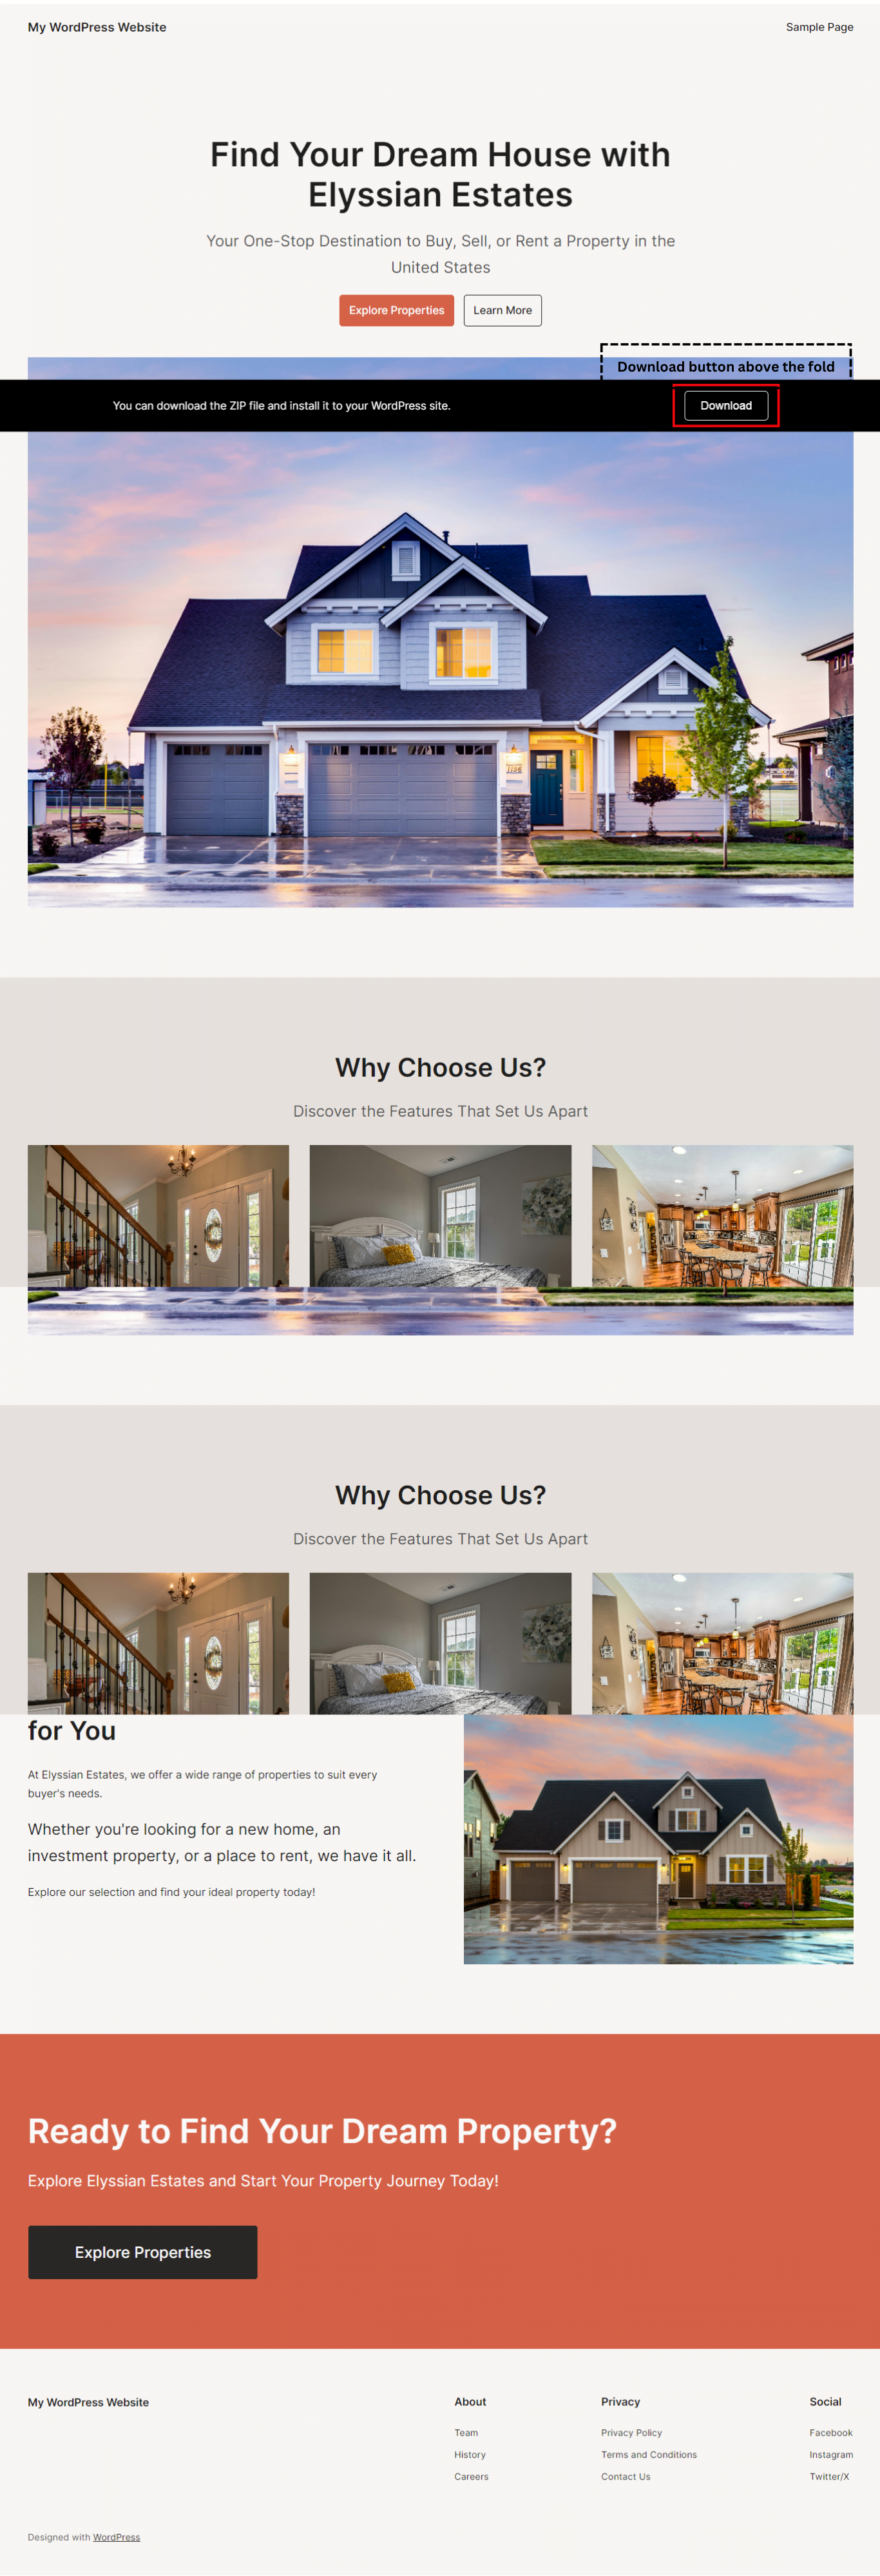
In case you click on that “View Site” button, you’ll see a Download Site button above the fold. This mean you don’t need to head back the browser window to download your files just use the provided download button above the fold.
Do note that your Site View won’t be viewed in a New browser tab which means that in the rush you may probably click on that back browser button to go back and download the files. Be warned that pressing the back browser button (during any part of the process) will reset the process causing you to re-start the entire process at step 1.
Uploading the Downloaded Zip File to your WordPress
Once you get the Zip file of the theme from QuickWP, the AI Website Builder tool, you’ll then need to upload it to your WordPress.
Head over to your WordPress admin Dashboard panel. Under the Appearance tab, select Themes and in the theme settings window that appears, press the Add New Theme button on the top. Then press the Upload Theme button on the window that opens.
Press the Choose File button and Give path to the downloaded Zip file from AI Website Builder tool and hit that Install Now button. After the theme installs, press activate now.
After activation, go to the View Site and Voilà!
Your AI built site theme is up and looks exactly the way you viewed it on browser before downloading the Zip Files.
Now, that you’ve got the main structure of your website online, it’s time to start adding content. You might as well need to do some tweaking with the layout and the Page Builder tool Otter Blocks can help you get your AI-built website improved, and look even better designed.
Improving the AI built theme with Otter Blocks
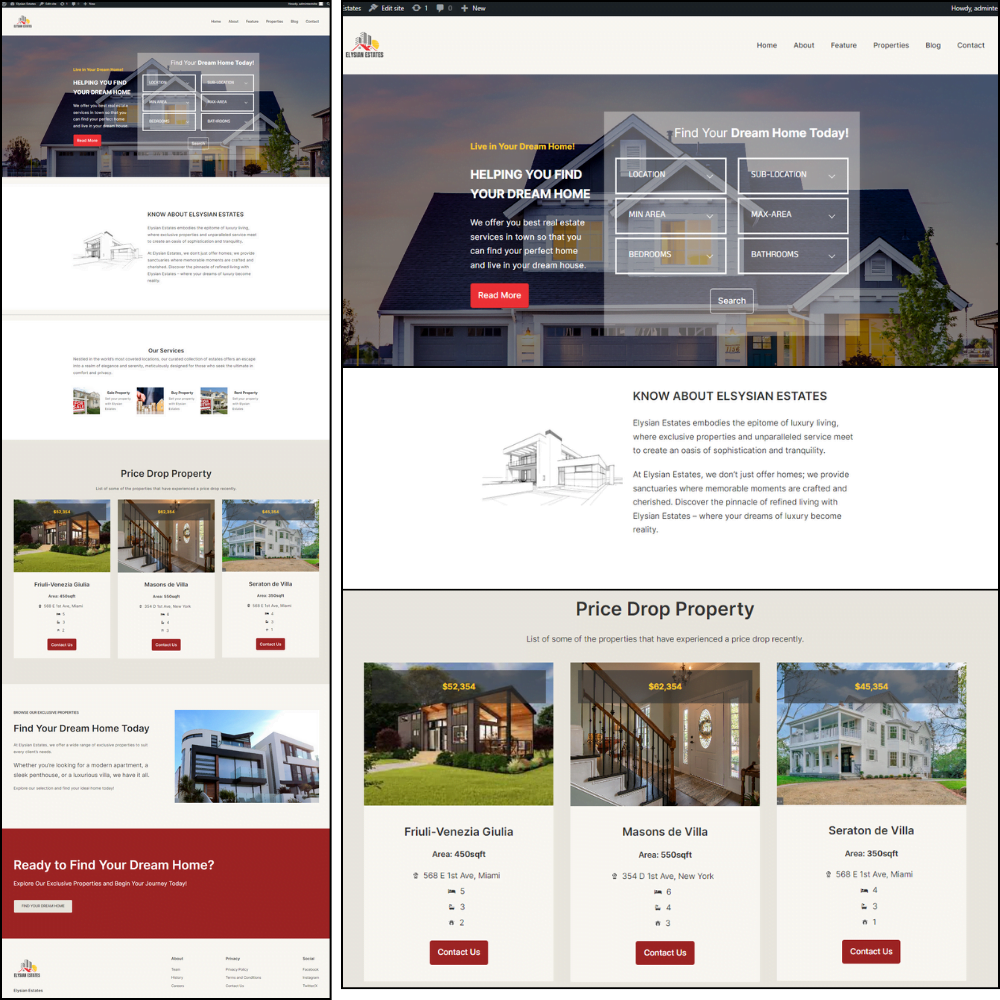
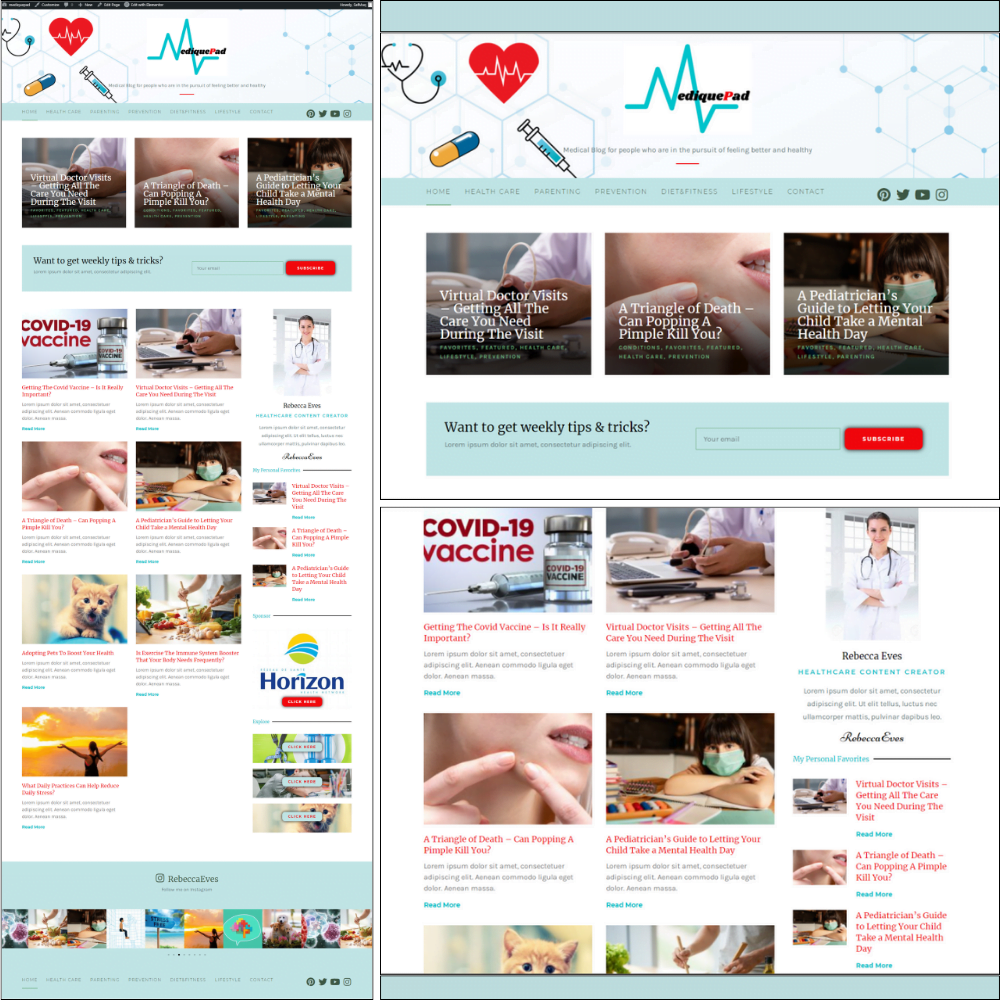
After uploading the theme file into my WordPress theme panel, I tried improving the design according to what I believed would suit better the selected Real Estate niche. To improve the design, I installed and used the Otter Blocks plugin by Themeisle.
After improving the design, here’s how the website built with the AI Website Builder tool in this blog article looks after tweaking and transforming it with Otter Blocks.
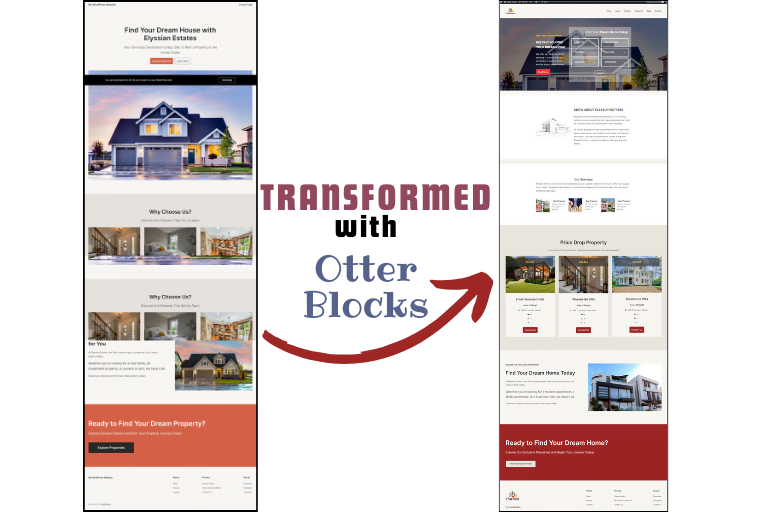
Want a step-by-step tutorial on “How I transformed the website built by the AI Website Builder tool QuickWP with Otter Blocks”?
Stay tuned, I’ll be uploading it soon here on my blog!
Summing Up
With the open-sourcing of AI Website Builder QuickWp that completes the website development process in simple 6 steps, Themeisle has demystified the web design process for young entrepreneurs as well as for people and organizations looking to establish a strong online presence.
QuickWP serves as a revolutionary tool in the world of website building, especially for people seeking efficiency without sacrificing quality. The powerful AI capabilities of the tool empower individuals of all skill levels to bring their digital visions to life without procrastination.

Take it to your Inbox!
Subscribe to my Newsletter
Never miss the Tips, Tricks, and Insights that I share on my site.
Add a Comment